Chinese Steamed Buns
If you’ve ever been to a Chinese wedding banquet, it is likely that you’ve tried a Gua bao, a fluffy Chinese steamed bun filled with crispy duck meat slathered in a fragrant sweet and savory Hoisin sauce. Having been to our fair share of Chinese wedding banquets, this was one of the dishes we looked forward to most and the steamed bun was our favorite part. Gua bao was one of those dishes we ate only on special occasions but after discovering how easy they were to make, we can now eat them any day of the week.
These buns are so soft and fluffy and we love how versatile they are. You can make these with a variety of fillings.
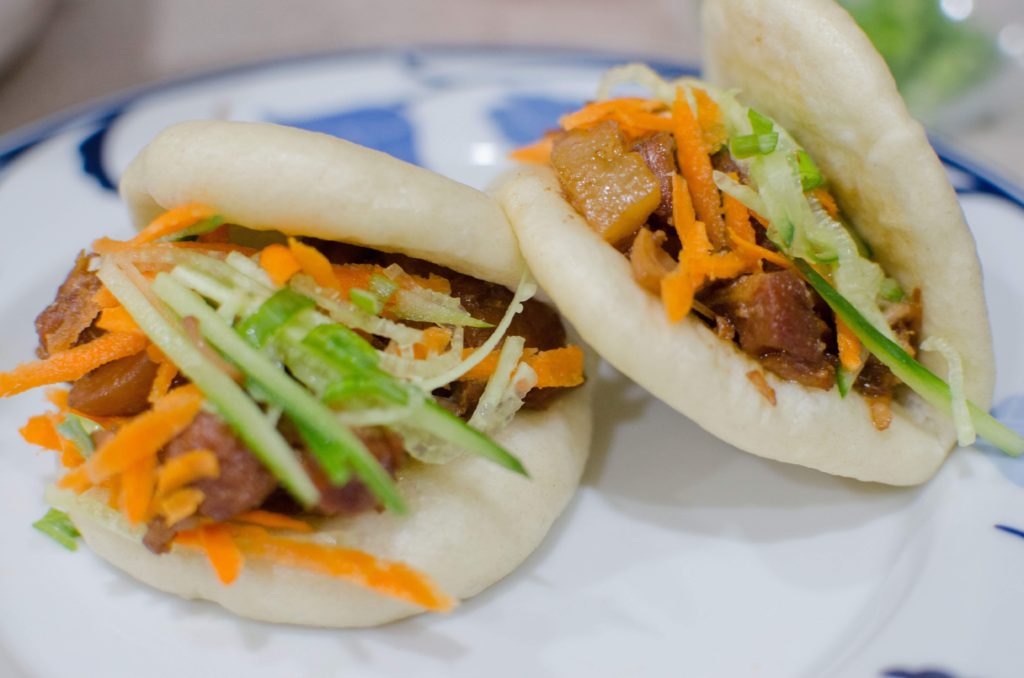
The traditional Taiwanese version (sometimes called Taiwanese hamburgers) are filled with braised pork belly but you can fill these with whatever your heart desires. We’ve filled ours with scrambled eggs and ham as a breakfast option for our kids. If you prefer something sweet in the morning, you can fill them with peanut butter and jelly. As a dessert, they can be filled with chocolate or for a more traditional Asian flavor, red bean paste (or Anko).

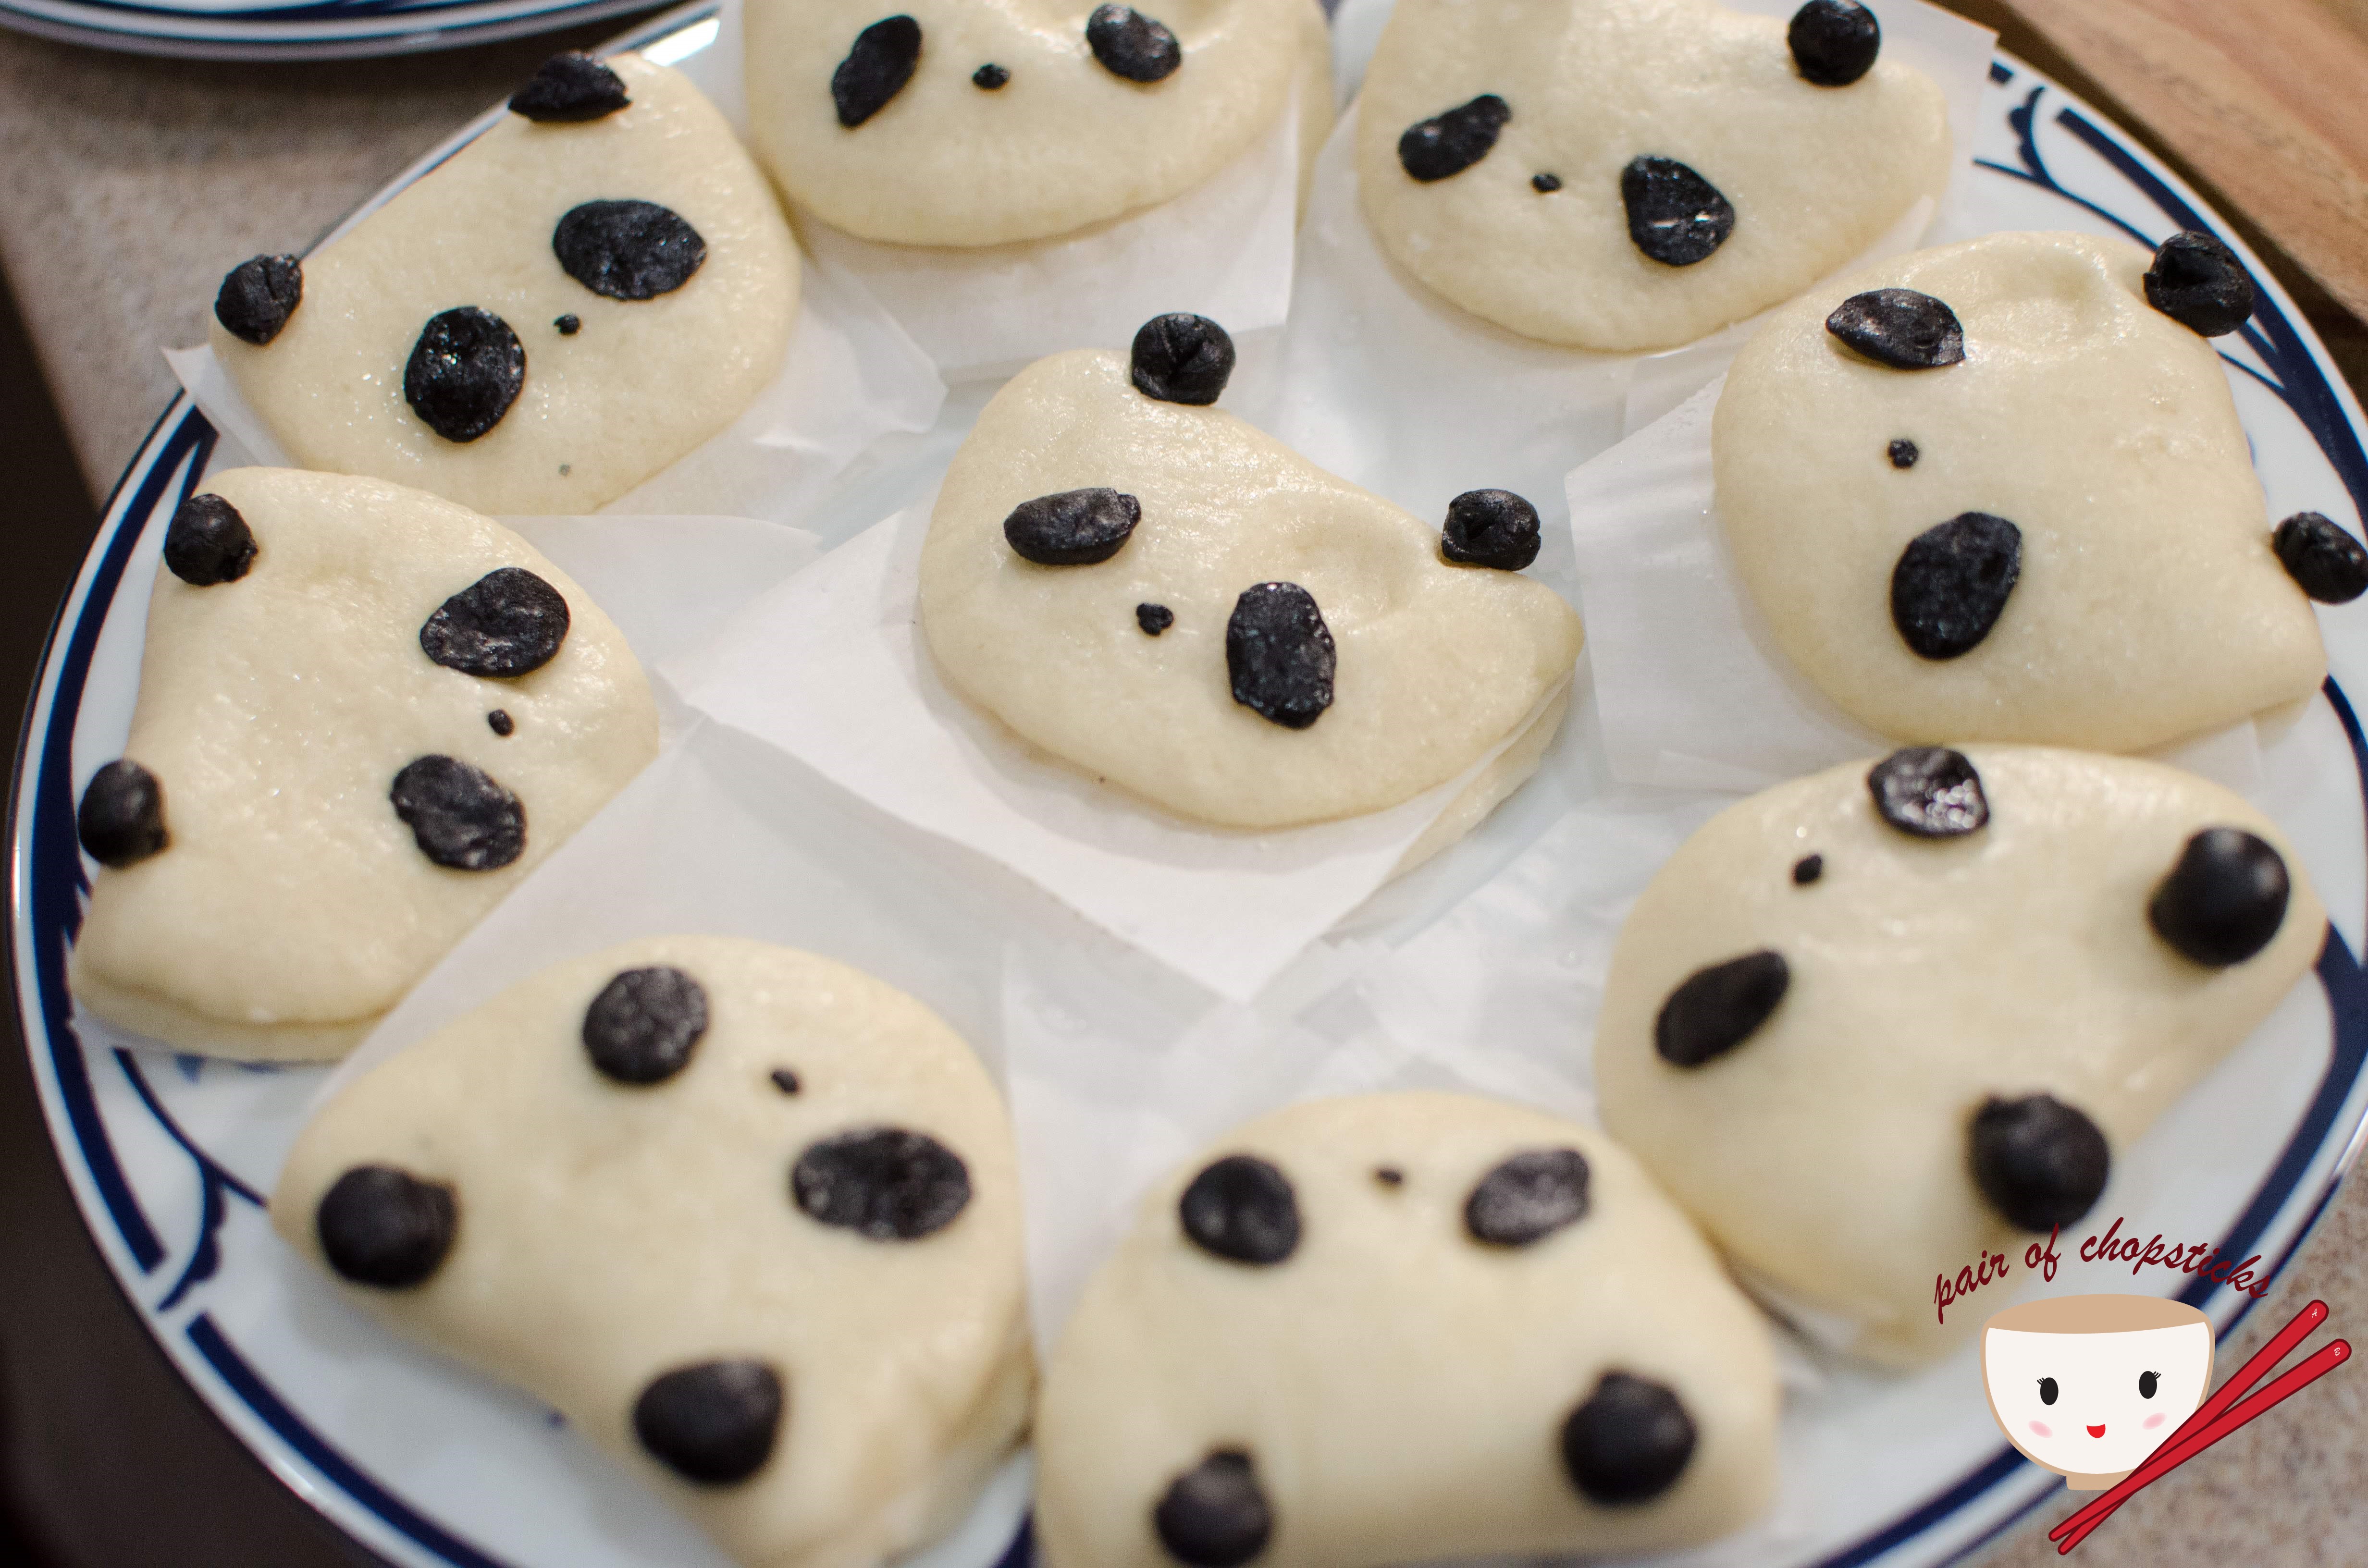
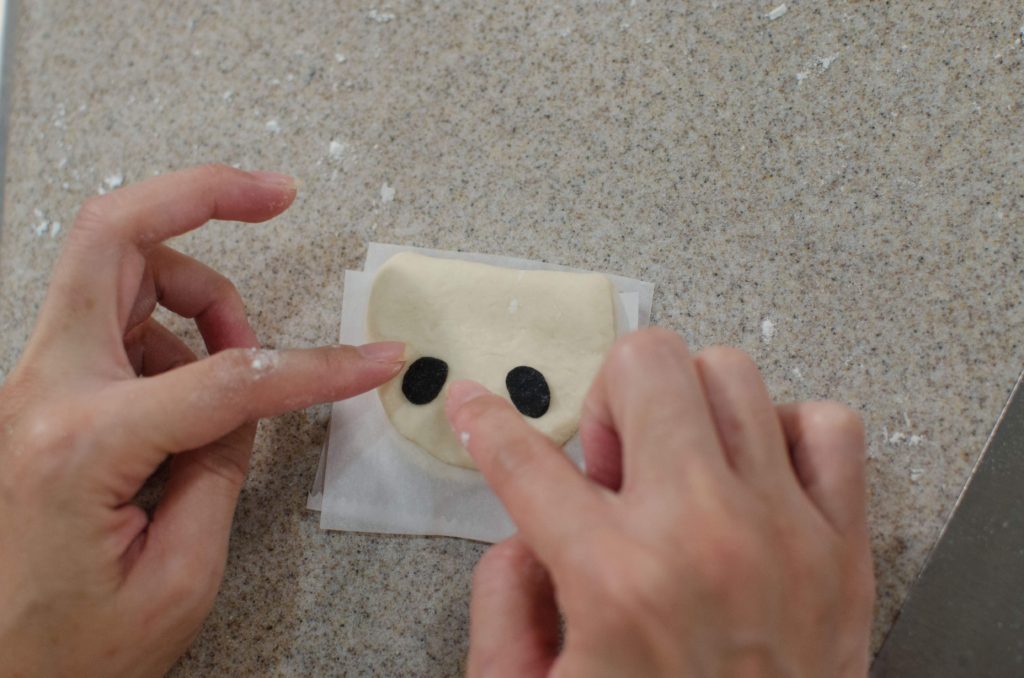
For some fun, we decided to make some of our steamed buns into pandas. Once the dough has been portioned out into small ping pong sized balls, reserve one ball to be colored and used for the black parts of the panda. We use the AmeriColor soft gel paste food color in SUPER BLACK. As a general rule, we like to use gel food coloring as opposed to liquid food coloring as gels don’t affect the consistency of our dough and batters. Add about 4 drops of black coloring into the small ball of dough and knead until you get a nice uniform color. Set it aside under a damp towel.
Once the dough balls have been rolled out and folded over, round out the two corners for a more circular shape. Then roll two small balls of dough between your fingertips to form the ears of the panda. Attach them to your bun with some water. Then roll out two ovals and flatten them to make the eye patches and attach them to the bun. Finally, roll out a tiny sesame sized oval and again attach it to the bun for the nose. Steam them according to the the recipe.
The buns are always a hit with the kids! With these, we decided to make them into desserts and filled them with some homemade red bean paste.
*Tip: Once these buns have been steamed and cooled, they can be frozen. To reheat, simply steam them for 4-5 minutes (We hardly ever have enough to freeze since our kids gobble them up so fast!)
Chinese Steamed Buns
Ingredients
- 3/4 cup warm water
- 1 Tbsp granulated sugar
- 1 tsp instant yeast
- 1 Tbsp canola oil Any light oil will work. We used avocado oil
- 2 cups all purpose flour
- 2 Tbsp corn starch
- 1/4 tsp salt
- 1/8 tsp baking soda
- 24 pieces parchment paper Cut into 3×3 inch squares
Instructions
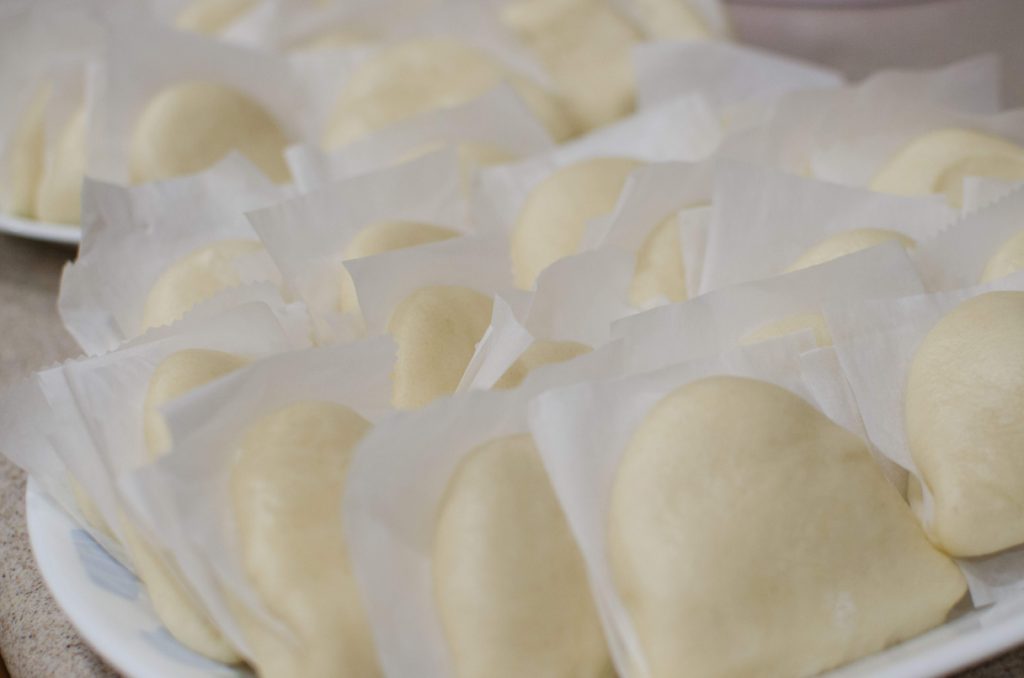
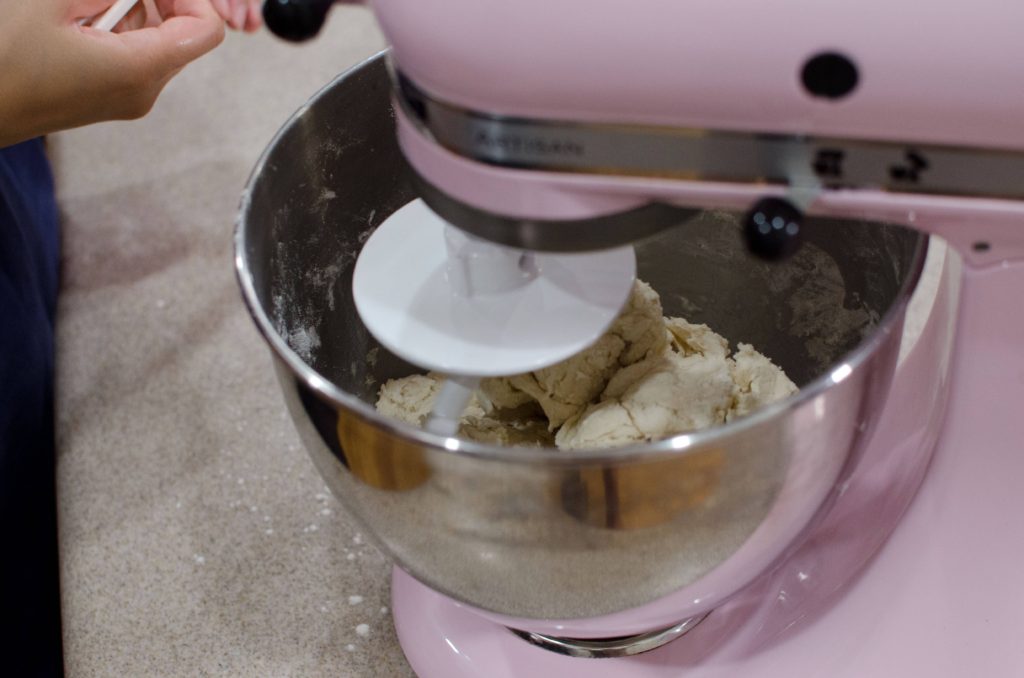
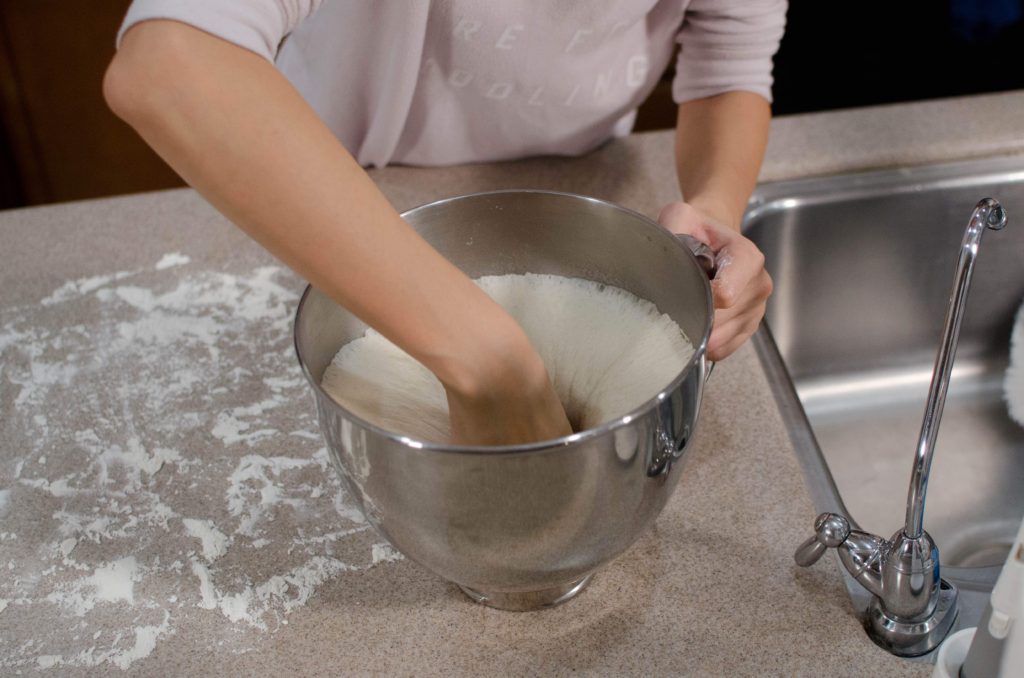
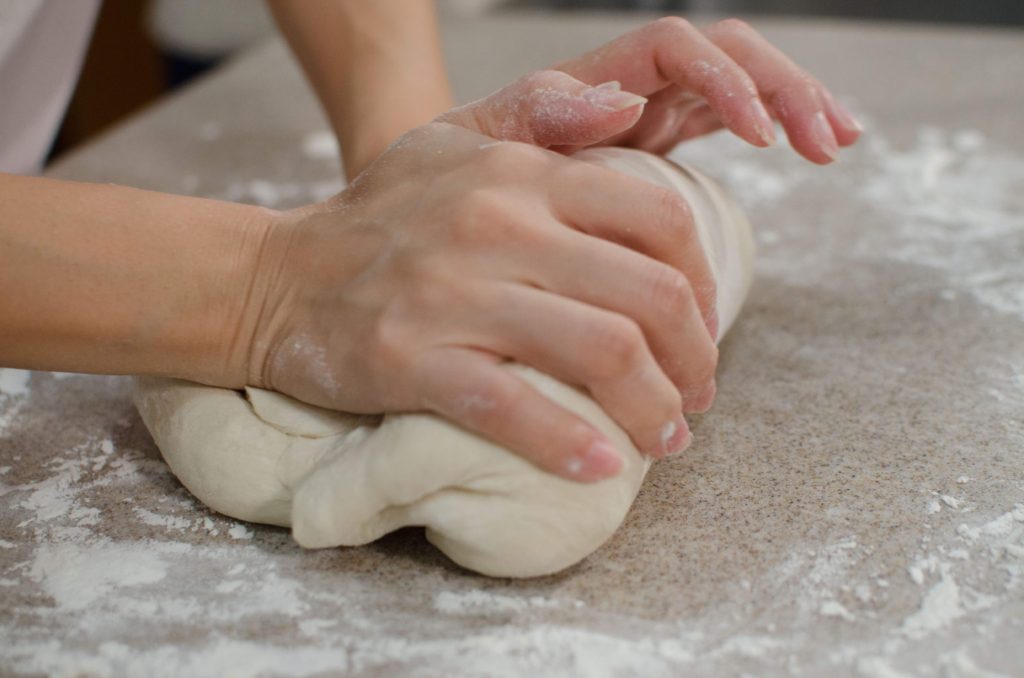
- 1. Combine 3/4 cup warm water, 1 Tbsp sugar, and 1 tsp instant yeast in a small bowl. Mix to dissolve. Set aside for 15 minutes for yeast to bloom and foam. 2. Meanwhile, whisk together 2 cups flour, 2 Tbsp cornstarch, 1/4 tsp salt, and 1/8 tsp baking soda in the bowl of a stand mixer. *3. Once yeast is done blooming, add 1 Tbsp canola oil. Pour yeast mixture in with dry ingredients.4. Attach the dough hook onto the stand mixer and mix on low until ingredients are combined. (Use a spatula to scrape down the sides of the bowl) Then increase speed to high for 5 minutes. The dough should be smooth and pliable. It will be slightly tack but shouldn’t stick to your fingers. 5. Roll it into a ball, cover it with plastic wrap, and let it proof in the bowl for about 1 hour at room temperature until it has doubled in size. **6. While the dough is proofing, cut up parchment paper into 3×3 inch squares.7. Once the dough has finished proofing, punch it down to release the air, then take it out of the bowl and knead it for a few minutes.8. Roll the dough into a log and cut into 12 even portions. Form each portion into a ball.9. Using a rolling pin, roll out each dough ball into flat ovals. About 1/4 inch thick. 10. Fold the dough in half and place a piece of parchment paper in between the dough to prevent them from sticking together. Place another piece of parchment paper on the bottom of the bun.11. Arrange the buns in the steamer, cover with a lid, and let them rest for 20 minutes. 12. Turn the stove on to high. When steam starts to appear, turn the heat down to medium and steam for 10 more minutes. 13. After 10 minutes, turn off the heat and let the buns rest for 5 minutes. DO NOT remove the lid! Removing the lid right away will cause the buns to deflate. 14. When 5 minutes are up, the buns are ready to be removed and enjoyed!







Awww these are the best. I love it!!! It looks too cute to even eat. Congrats on your new food blog. I look forward to trying it and seeing more recipes.
Thank you so much! We’re so glad you liked it. Your encouragement has really helped get this first post out!
Getting hungry just looking at the photos. But they’re almost too cute to eat! Conflicting emotions!!
Can’t wait to see what else you gals cook up 🙂
Thanks Connie! We have to catch up sometime.
Such a fun food blog site!! They look delicious so far! I’m going to try to make those baos! Im such a foodie too, esp of Chinese food, so Im going to follow you both , happily! Keep the recipes comin!!
Thank you Elaine! Thinking up new recipes as we speak 😛
These are so adorable. Looking forward to more of your posts!